How to flush autoflowers
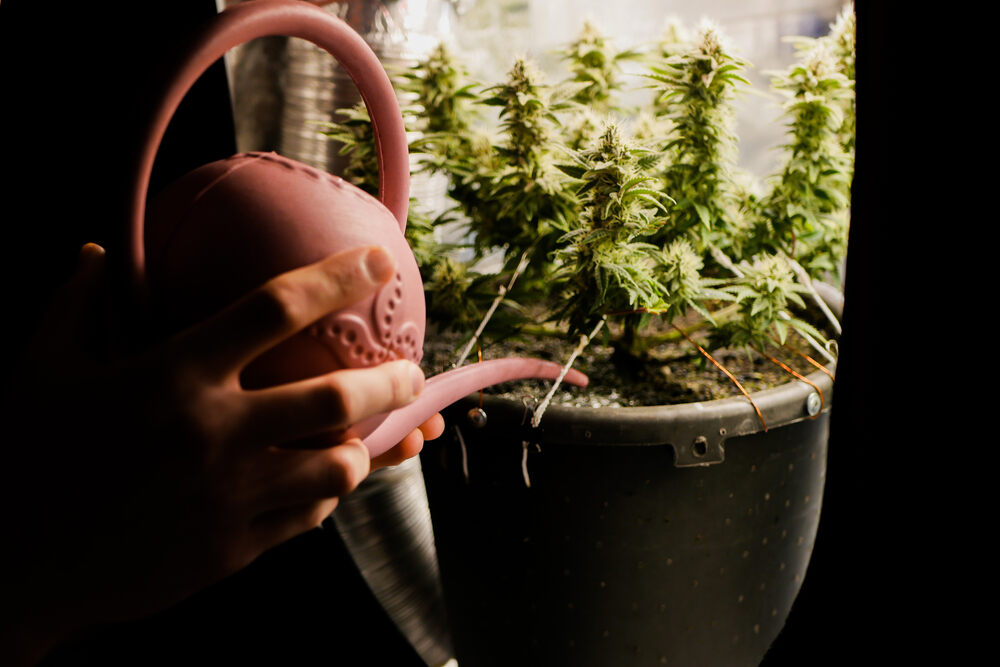
Often a step that gets overlooked by first time growers but flush your plants properly and you will thank yourself when it comes to smoking it. Flushing cannabis plants is the vital last step before you cut your plants down and can be the difference between a harsh throat hit and a smooth toke. This guide covers everything you need to know, from understanding the process and its purpose to the best methods for soil and hydro setups. Learn when and how to flush and avoid overwatering your plants.
What is flushing and why do we do it?
Flushing cannabis is the process of feeding your plants just plain nutrient free water, for one to two weeks before you start to dry and cure them. Doing this helps to remove the built-up salts and excess nutrients from the soil or growing medium and flush them out of the plant itself – think of flushing as detoxing your plants before you harvest them. A good flush will improve the taste and aroma of your bud and remove any nasties leftover from the nutrients giving you a smoother smoke. If you want to grow top shelf bud, flushing is essential.
When do you need to start flushing autoflowers?
You should start flushing your autoflower plants about one to two weeks before the harvest date. It is important to get your timing right so that you have at least one or two weeks left before they are fully mature. To do this you should start looking for signs in the final month of your grow such as milky or amber trichomes and the yellowing of lower leaves. When you see that the trichomes are starting to turn milky you can begin flushing and within 1-2 weeks your bud should be ripe, and flushing will be done.


Step-by-Step Guide to Flushing Autoflowers in Soil
- Prepare Plain, pH-Balanced Water:
- Ensure the water is pH-balanced, ideally between 6.0 and 7.0.
- Water Thoroughly:
- Slowly pour the plain, pH-balanced water into the soil.
- Continue pouring until water begins to run out of the bottom of the pot.
- Remove Accumulated Nutrients and Salts:
- Allow the excess water to drain completely, ensuring it carries away any built-up nutrients and salts in the soil.
- Repeat the Process:
- Continue this flushing process every few days.
- Maintain a consistent watering schedule to ensure thorough cleansing of the soil.
- Monitor the Plant:
- Keep an eye on the plant for signs of improvement.
- Look for yellowing leaves, which indicate that the plant is using up its remaining nutrients.
- Continue Until Harvest:
- Keep flushing until it’s time to harvest your autoflowers.
- This process will help produce better-tasting and smoother-smoking buds.
Step-by-Step Guide to Flushing Autoflowers in Hydroponics
- Prepare Plain, pH-Balanced Water:
- Ensure the water is pH-balanced, ideally between 5.5 and 6.5.
- Drain the Current Nutrient Solution:
- Completely drain the existing nutrient solution from your hydroponic system.
- Refill the Reservoir:
- Refill the reservoir with fresh, clean water.
- Make sure the water’s pH is properly adjusted to the range of 5.5 to 6.5.
- Allow Plants to Absorb the Water:
- Let the plants absorb the plain water for about five to seven days.
- Monitor the Plants:
- Keep an eye on the plants for any signs of nutrient deficiency.
- Check for yellowing leaves or other indicators that the plants are using up stored nutrients.
- Continue Until Harvest:
- Maintain this flushing process until it’s time to harvest your autoflowers.
- This method will help remove excess nutrients and salts, leading to a purer and more enjoyable final product.
How can you tell when flushing is done?
Towards the end of flushing, you will notice that the leaves turn yellow, which indicates that the plant has used up the remainder of any nutrients in the soil. This yellowing is a sign that the flushing process is working. You should also check the runoff water; it should become clearer over time, indicating that excess nutrients are being flushed out. Testing the electrical conductivity (EC) of your runoff water can also help, as lower EC readings mean fewer residual salts and nutrients.
How to avoid overwatering while flushing cannabis
To avoid overwatering while flushing cannabis, water the plants thoroughly but allow the soil to dry out between flushes. Make sure your plants have good drainage to prevent water from sitting at the bottom of the pots. Try to stick to a consistent watering schedule, of every few days, rather than daily. Keep a close eye on the soil moisture and the plant’s response to flushing, if you spot that the leaves begin to droop then you might be overwatering.
How to flush if your plants are experiencing nutrient lockout
Flushing can also be used if you have given your plants too many nutrients which can cause ‘nutrient lockout’. If your plants are experiencing nutrient lockout, start by flushing them with plain, pH-adjusted water to remove the buildup of excess salts and nutrients in the soil. Ideally you want to use water that has an EC (electrical conductivity) of 0.400 – 0.600ms so there are very few minerals in the water which will help to flush and not add to the problem. Use lots of water, about twice the volume you would normally use, to thoroughly rinse the roots. Make sure the water is draining through properly to avoid over watering.
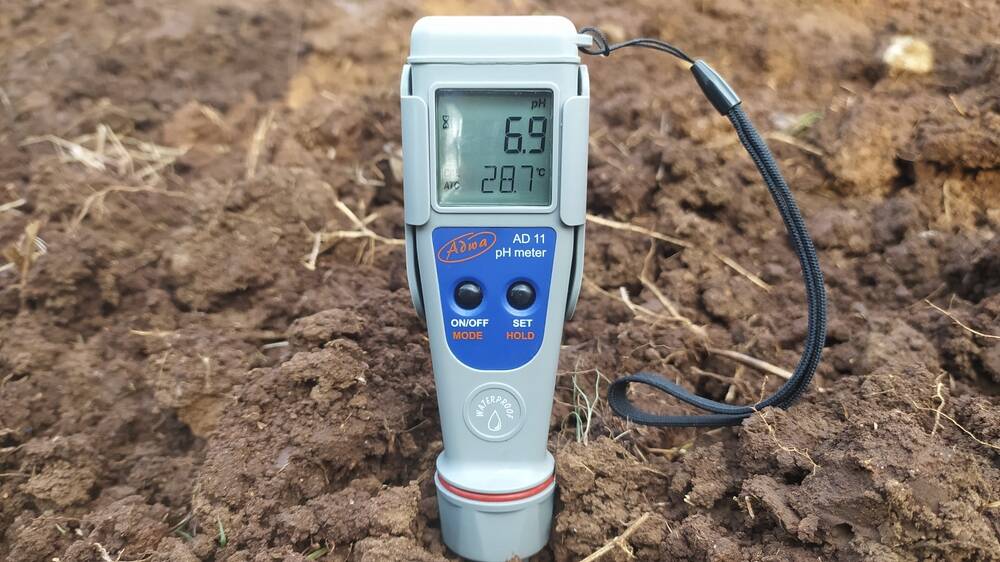
After the initial flush, use an EC meter to monitor the EC levels of your runoff water, again you want to make sure it is the same 0.400 – 0.600ms. If it is higher than this, the water is collecting built up minerals from the soil and you should keep flushing until the EC level has been brought down. Finally, you will need to get a pH meter to test the pH of your soil, if the pH of your soil is 6.0-7.0 that is perfect. Outside of this range your pH is too high.
Do you need to flush when growing with organic soil?
You generally do not need to flush when growing with organic soil. Organic soils are designed to create a balanced ecosystem where beneficial microbes and natural nutrients are available in smaller, more frequent amounts. Flushing can disrupt this balance, potentially harming the beneficial organisms in the soil so it’s best to leave this step when growing organically.
Autoflower Flushing FAQ
Can you flush autoflowers in 1 week?
Yes, you can flush autoflowers in 1 week. For large pots you may want to flush for a little longer.
Do buds fatten up during the flushing process?
No, buds typically will not fatten up during the flushing process. The main growth phase is over, and flushing just removes the excess nutrients that have built up.
Do you need to check the pH of water during flushing?
Yes, you need to check the pH of the water during flushing. Maintaining a pH level between 5.5 and 6.5 ensures effective nutrient removal and prevents additional stress on the plants.
Do buds still grow while flushing?
No, buds generally do not grow while flushing. Flushing occurs in the final stages when growth has slowed, focusing on improving the quality and purity of the final product.